使用rembg-trainer进行模型训练
在前面的文章中使用了rembg,一个非常好用且开源的图像分割工具:使用rembg并捣鼓ONNX Runtime - cyqsd's blog,也提到了birefnet、u2net_xxx等适用于各类场景的模型,但毕竟那都是人家预训练的模型,并不能涵盖现实使用时的所有场景,并且要达到较好效果的预训练模型,往往体积也很大,不利于轻量化的使用。
那这时可以考虑自己构建训练集,在issues的提问中有人问到了.pth转.onnx模型的问题,How to convert custom .pth Model to .onnx? · Issue #193 · danielgatis/rembg,回复里面提到了一个很好的开源项目:GitHub - JonathanSeriesX/rembg-trainer: Code to train U2Net model for use with rembg tool,于是乎可以省去很多的配置工作量,本文记录了一下捣鼓过程。
环境配置
环境配置的话,主要就是各个依赖项目需要安装。
ONNX Runtime
因为rembg-trainer也是在ONNX下的,对各个平台显卡的支持都蛮好,所以ONNX Runtime还是参考上一篇中的环境配置:使用rembg并捣鼓ONNX Runtime - cyqsd's blog。
然后就直接拉取、或者下载项目到本地:
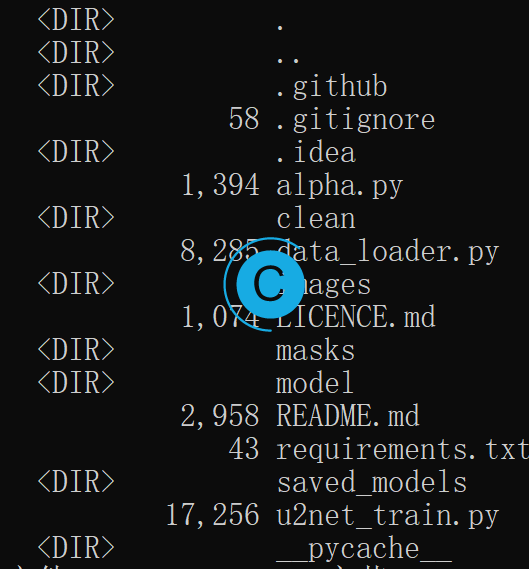
ImageMagick
因为命令里面是这样写的:
def extract_alpha(input_file_path, output_file_path):
    if not os.path.exists(output_file_path):
        subprocess.run(
            ["magick", input_file_path, "-strip", "-alpha", "extract", output_file_path]
)rembg-trainer对图片的处理是通过ImageMagick实现的,外加我的测试环境是Windows,那么需要手动下:ImageMagick – Download的Windows版本:
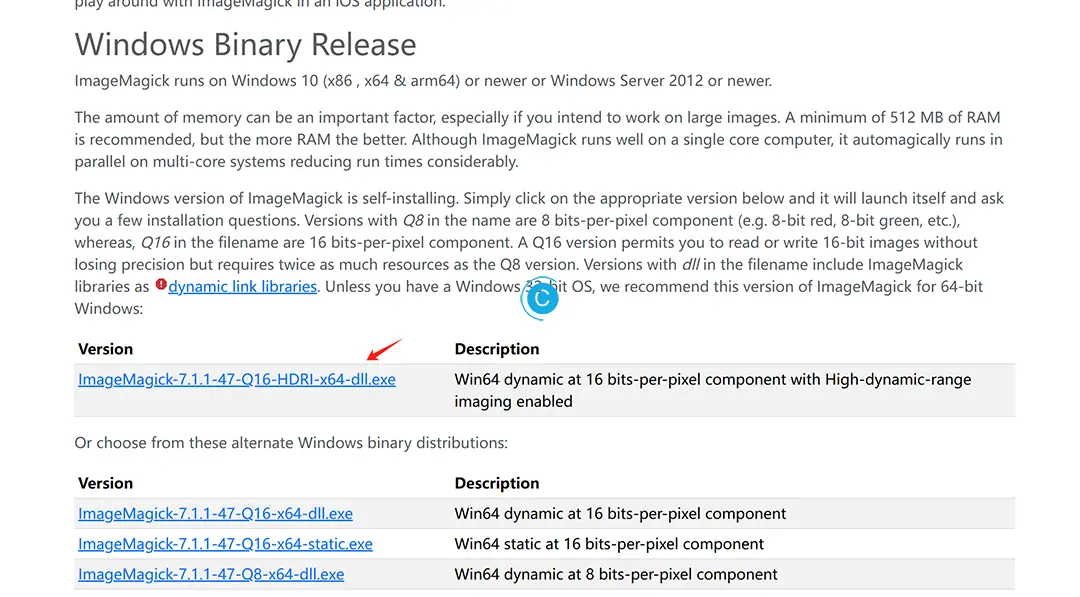
直接下载安装,并配置安装路径为环境变量:
requirements.txt
项目下有requirements.txt文件,直接在conda下安装即可,依赖不太多,手动解决冲突也没有问题。
pip install -r requirements.txt通过python u2net_train.py --help,可查看使用帮助:
(testenv) PS C:\Users\cyqsd\Desktop\rembg-trainer> python u2net_train.py --help
NVIDIA CUDA acceleration enabled
usage: u2net_train.py [-h] [-i TRA_IMAGE_DIR] [-m TRA_MASKS_DIR] [-s SAVE_FRQ] [-c CHECK_FRQ] [-b BATCH] [-p PLAIN_RESIZED] [-vf VFLIPPED] [-hf HFLIPPED] [-left ROTATED_L] [-right ROTATED_R] [-r RAND] [-l LOYAL]

A program that trains ONNX model for use with rembg

optional arguments:
  -h, --help            show this help message and exit
  -i TRA_IMAGE_DIR, --tra_image_dir TRA_IMAGE_DIR
                        Directory with images.
  -m TRA_MASKS_DIR, --tra_masks_dir TRA_MASKS_DIR
                        Directory with masks.
  -s SAVE_FRQ, --save_frq SAVE_FRQ
                        Frequency of saving onnx model (every X epochs).
  -c CHECK_FRQ, --check_frq CHECK_FRQ
                        Frequency of saving checkpoints (every X epochs).
  -b BATCH, --batch BATCH
                        Size of a single batch loaded into memory. 1 is lowest possible; it may run on 8gb GPUs but also may not. 3 works well on 32gb of shared memory.
  -p PLAIN_RESIZED, --plain_resized PLAIN_RESIZED
                        Number of training epochs for plain_resized.
  -vf VFLIPPED, --vflipped VFLIPPED
                        Number of training epochs for flipped_v.
  -hf HFLIPPED, --hflipped HFLIPPED
                        Number of training epochs for flipped_h.
  -left ROTATED_L, --rotated_l ROTATED_L
                        Number of training epochs for rotated_l.
  -right ROTATED_R, --rotated_r ROTATED_R
                        Number of training epochs for rotated_r.
  -r RAND, --rand RAND  Number of training epochs for 256px crops.
  -l LOYAL, --loyal LOYAL
                        Number of training epochs for different 256px crops.
需要注意的是:NVIDIA CUDA acceleration enabled得处于打开状态,要是你使用的是AMD显卡,那ROCm得处于打开状态,从代码中可以看到是通过pytorch判断的,如果没有打开,那训练速度是几乎无法接受的。
def get_device():
    """
    Determines the device to run the model on (GPU/CPU).

    Returns:
        torch.device: Device type ('cuda:0', 'mps', or 'cpu').
    """
    if torch.cuda.is_available():
        print("NVIDIA CUDA acceleration enabled")
        torch.multiprocessing.set_start_method("spawn")
        return torch.device("cuda:0")
    elif torch.backends.mps.is_available():
        print("Apple Metal Performance Shaders acceleration enabled")
        torch.multiprocessing.set_start_method("fork")
        return torch.device("mps")
    else:
        print("No GPU acceleration :/")
        return torch.device("cpu")
训练素材准备
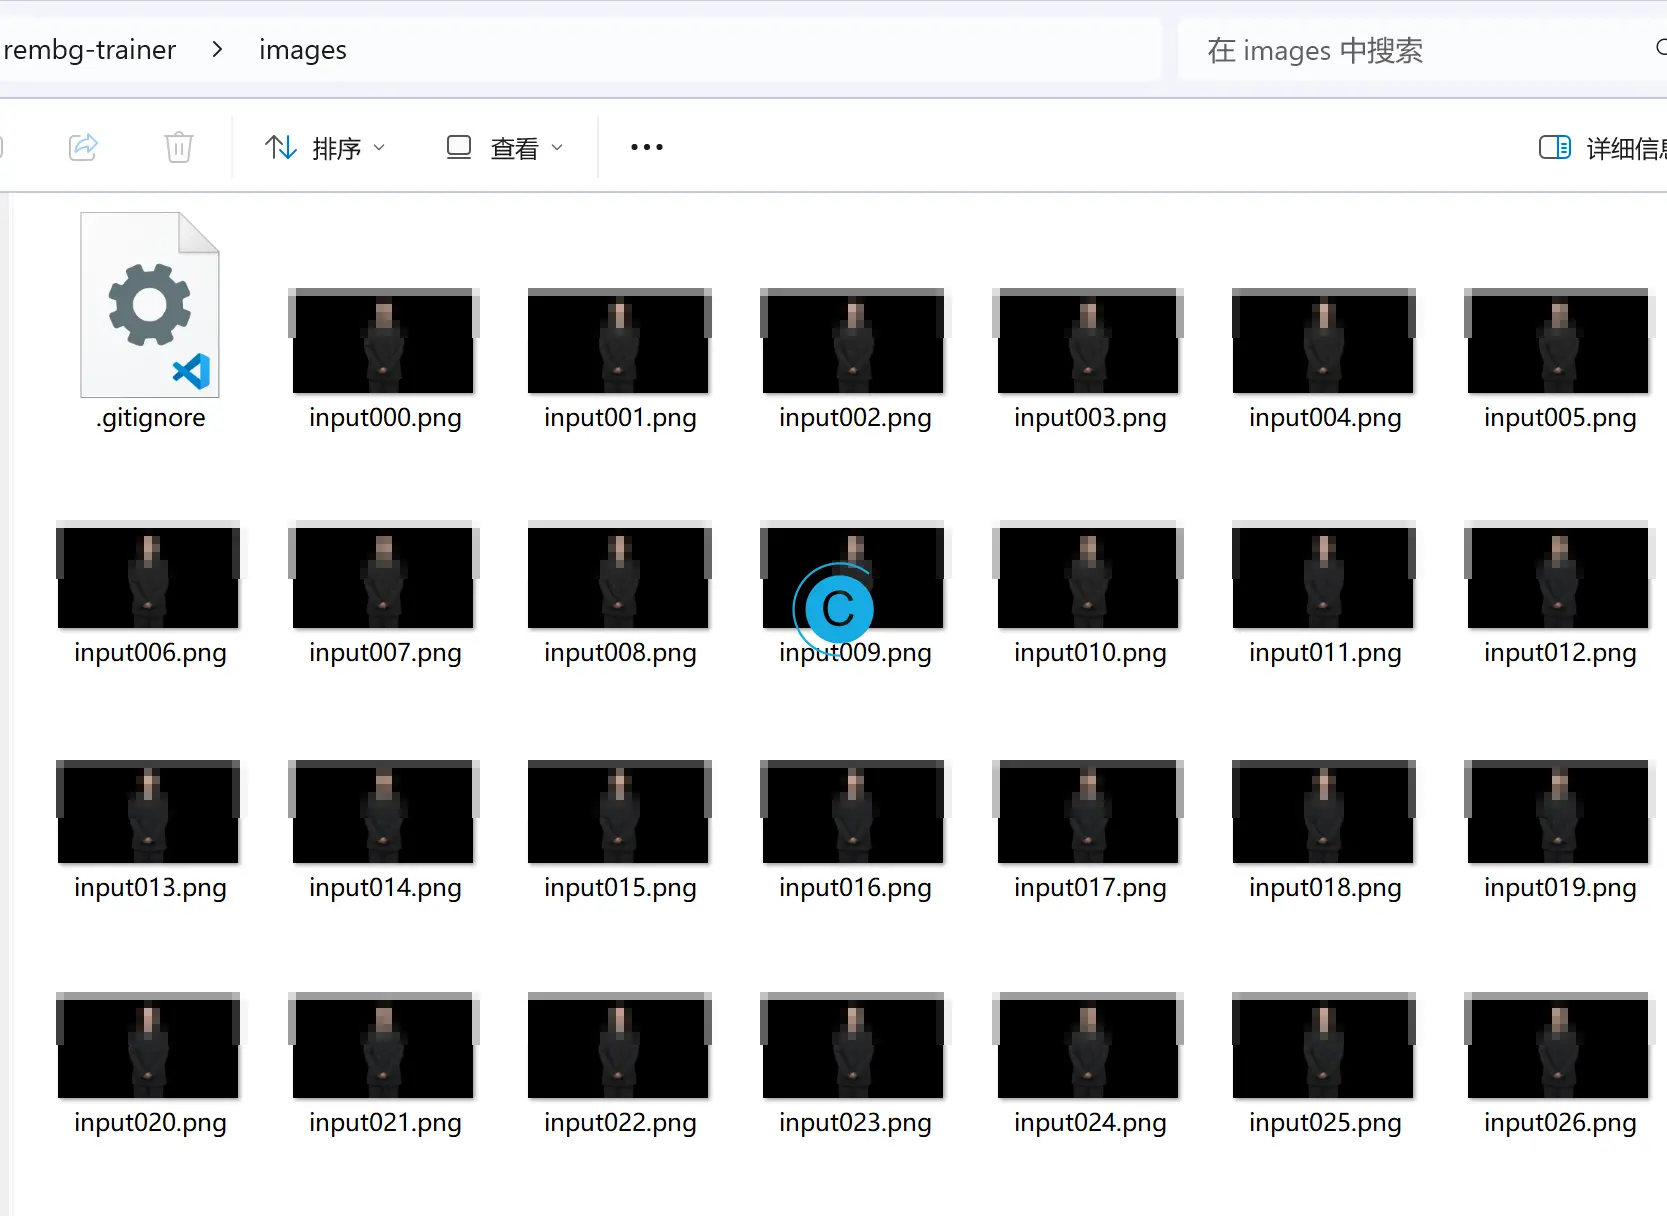
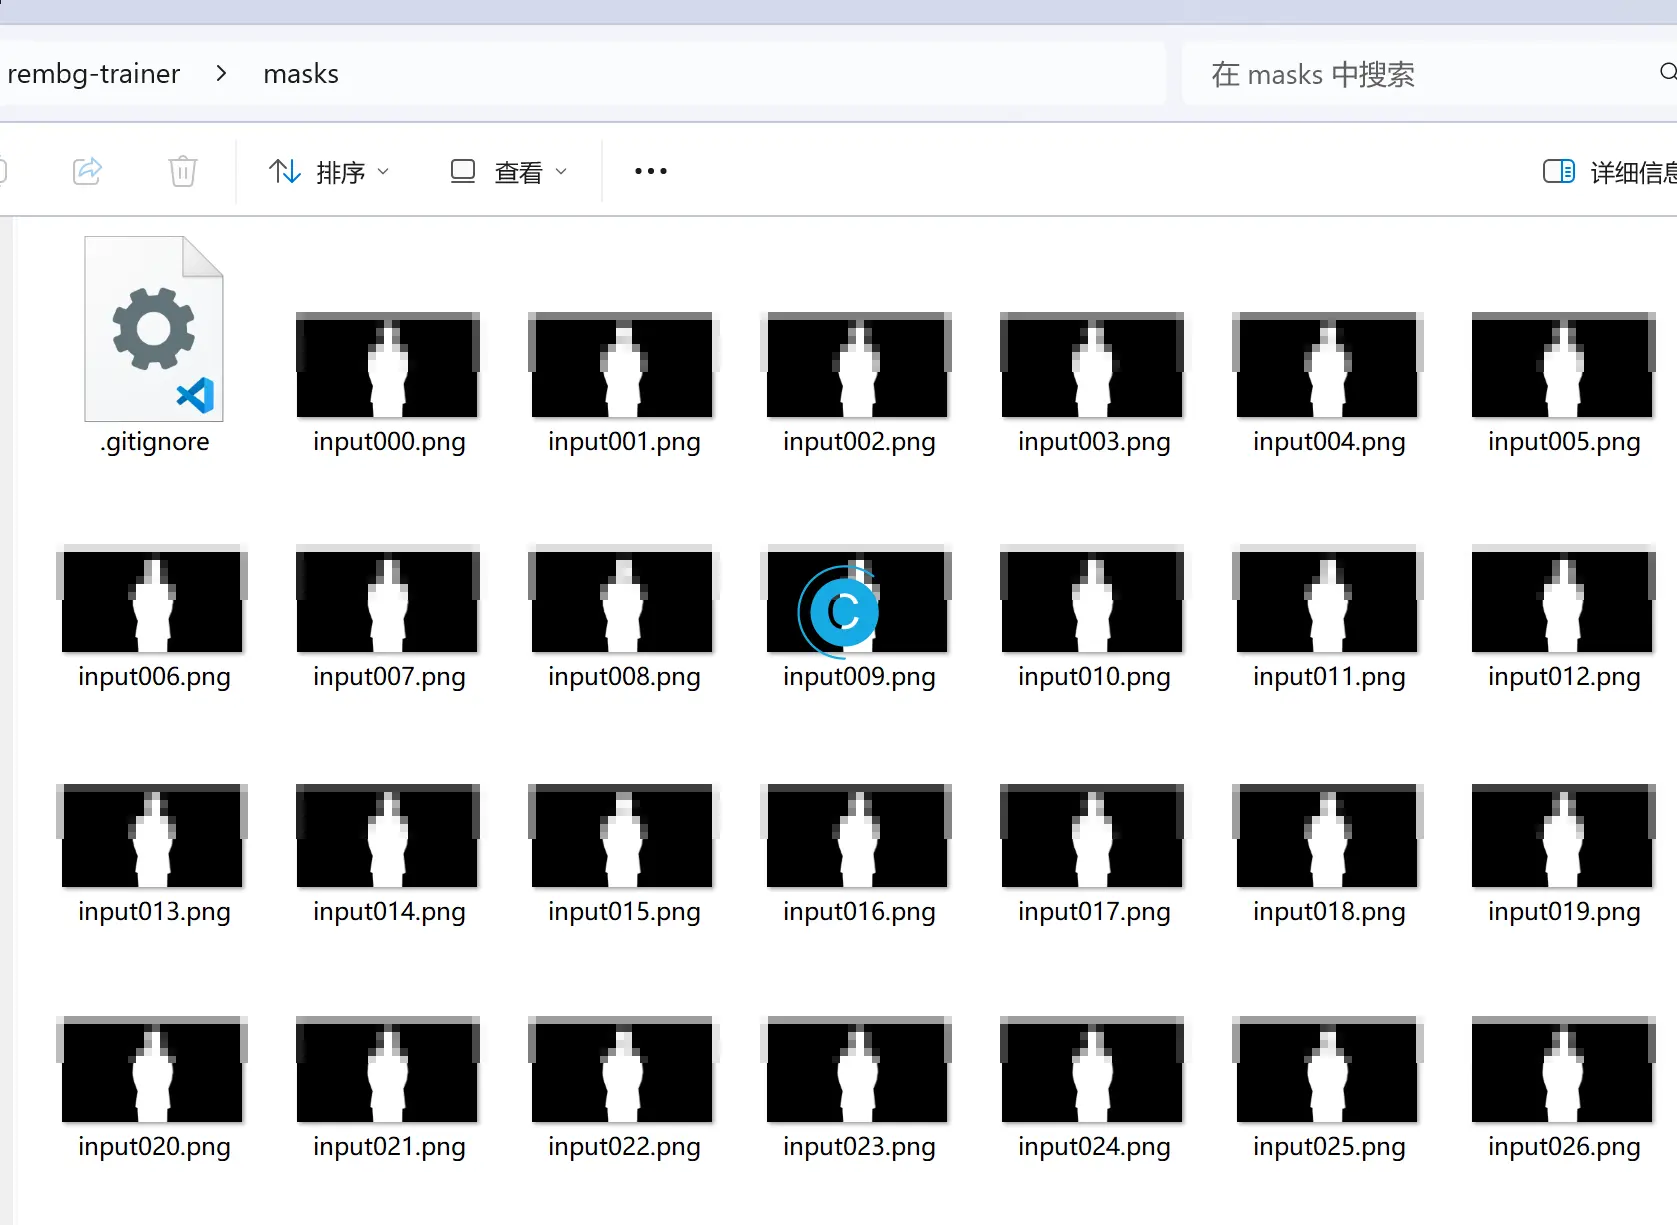
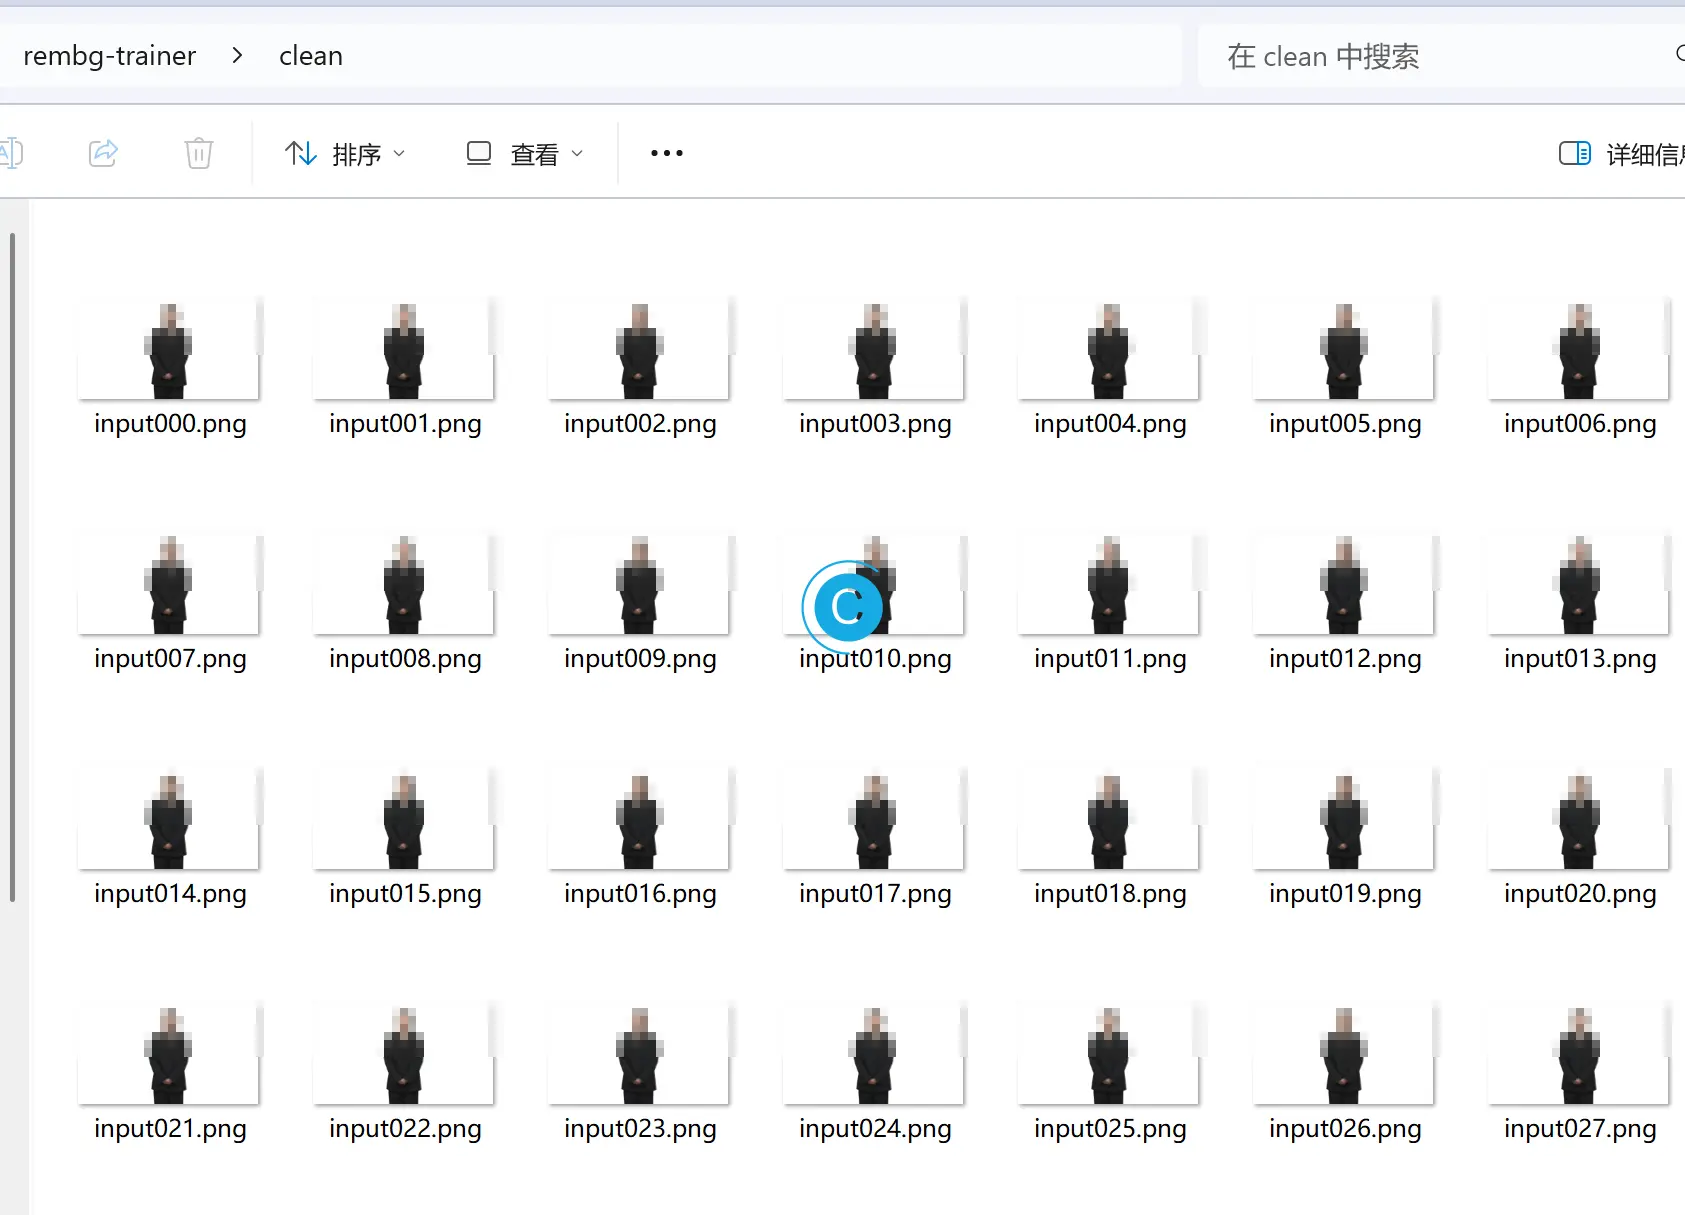
训练的素材可以是各类要图像分割的内容,数据量大的画,可以从Premiere或者ffmpeg,先完成背景的抠取,再批量将带有透明背景图层视频转换为png文件。成品例如:
- images目录,放置原始图片。
- masks目录,放置蒙版图片。可以使用
alpha.py clean,通过ImageMagick来生成。GitHub - JonathanSeriesX/rembg-trainer: Code to train U2Net model for use with rembg tool - clean目录,放置已经扣取完毕的图片。
开始训练
前面的操作都完成后,就可以启动训练了。因为准备上面训练集的时候都使用的默认路径,此处不用在额外指定使用路径。
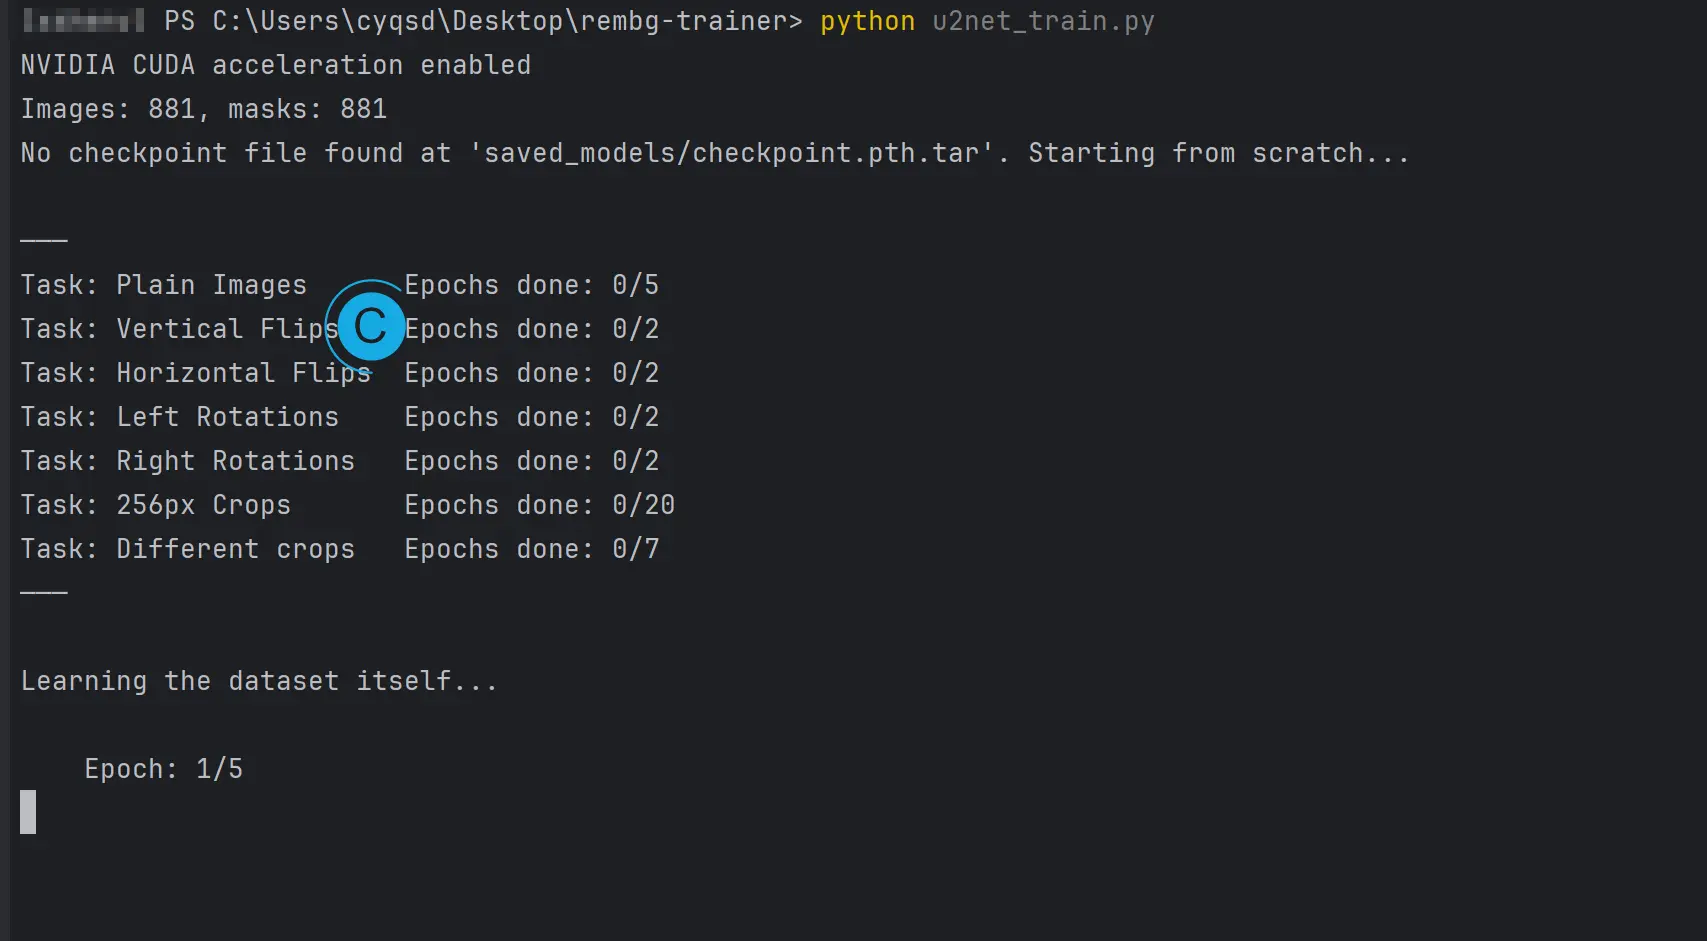

然后就是漫长的等待了。
至少完成一次检查点以后,就会有.onnx格式的模型可供使用。
加载自定义模型
和使用其他预训练的模型无异:
model_path = "./40.onnx"
session = new_session(model_name='40', model_path=model_path)
到这里本文就结束了,rembg-trainer已经对训练过程中的诸多环节进行了高度的整合封装,很快速就可以开始后续操作。
本作品采用 知识共享署名-相同方式共享 4.0 国际许可协议 进行许可。